Wow, two finished project posts in a row. Something must be going right!
Friday evening a couple of weeks ago saw the purchase of two new 71Ah 12v deep cycle batteries for the trolley. Unfortunately this came at the cost of one of the spinners which cracked when it hit a curb (curse you perspex) so these have all been removed pending some serious thought into durability. But back onto batteries… Originally the scooter came with two 32Ah ones but they were pretty old and I only managed to get one decent trip (3 odd km) plus some testing before they didn’t hold charge properly and were pretty much useless. Looking through the service manual the specs list a range of 30kms with the stock 32-35Ah options and whilst this may be a generous estimation either way the new (71Ah) ones should be a distinct advantage.
After charging overnight and a few finishing touches on Saturday morning it was deemed to be time for a proper test. The course chosen was a short round trip from Torbay to Browns Bay which according to Google maps works out to be 8.3 km total. Going each way took about 45 mins so the top speed of the scooter is definitely lower than the quoted 10 kph but the better news is that after the trip the battery indicator still showed 4 bars.
The only annoying part of the whole thing is now the charge light on the scooter is permanently lit… Originally this only came on when the battery level had dropped until only the bottom bar on the battery level indicator was lit and also when the scooter was plugged in to charge. I’m not sure what is going on with this one at the moment, the stock controller has been programmed for the SLA batteries so it’s not like it’s thinking that it has a different type of battery, and as all four battery bars light up then I can’t see how it can be thinking that the battery is both full and also in need of charging at the same time.
Troubleshooting wise I’ve confirmed that the battery level indicated by the display is actually indicative of the voltage remaining in the cells (ruling out the battery management stuff being stuffed completely) and that there isn’t programming error that is reading the output from the original controller wrong. If there was still a LED connected to the original controller board then it definitely would be lit. Either something on the stock controller has been fried at some point (but very selectively as everything else still works), the scooter is confused with the extra capacity provided by the 71Ah cells (although this would be very weird) or the scooter is still getting used to the new cells. A trawl through the service manual has yielded no results so at the moment the only other step that I can think of taking would be running through the original controller board again and confirming that there isn’t something weird happening with the matrix that handles the input and output from the I2C expander on the original control panel.
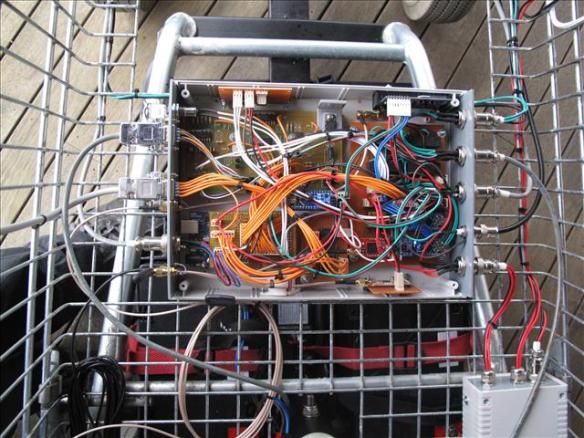
Apart from that the rest of it is running well, the computer software has been finished to remote control everything apart from the steering and the final few hardware connections have been made connecting all the Arduinos to each other to allow all this remote control stuff to happen.
I’ll post a video (weather permitting) soon going through all the finished features as well as covering how amazing these Plega mobility scooters are for hacking, both in their simplicity and the extreme amount of thought that has gone into the design. It really comes down to the fact that for $150NZD you can pick up the complete chassis, controller, 2 motors and gearboxes, seat, steering stuff, wheels user controls and charger.
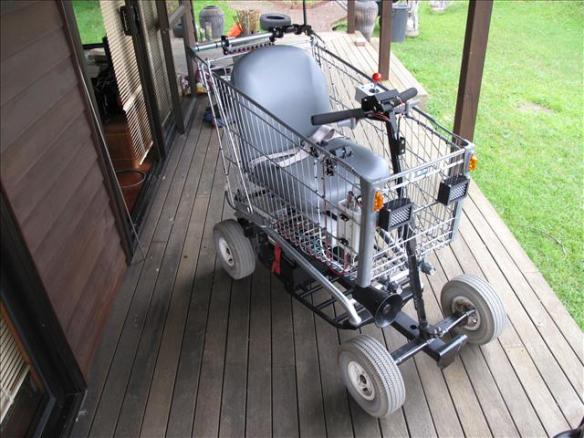
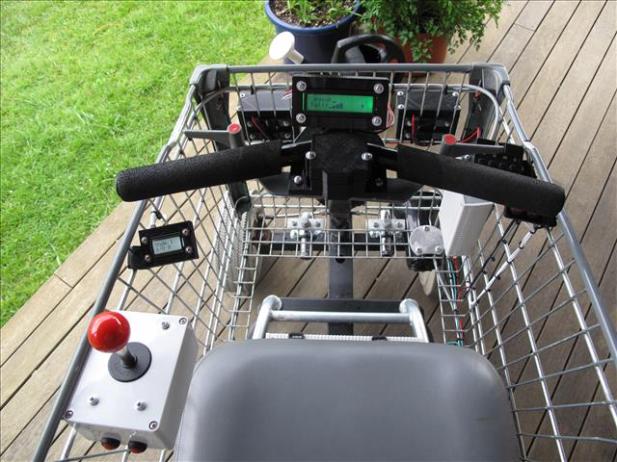
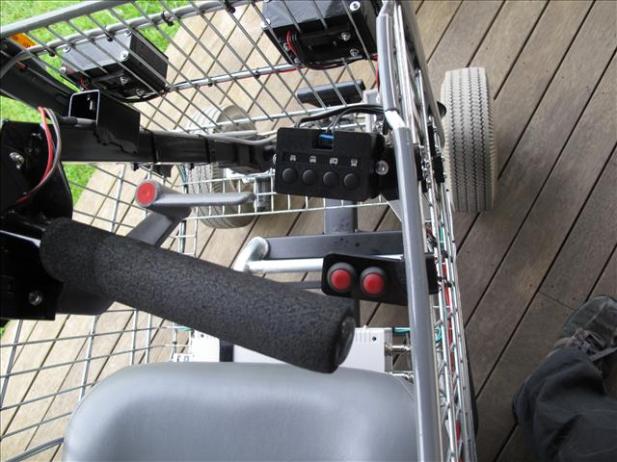
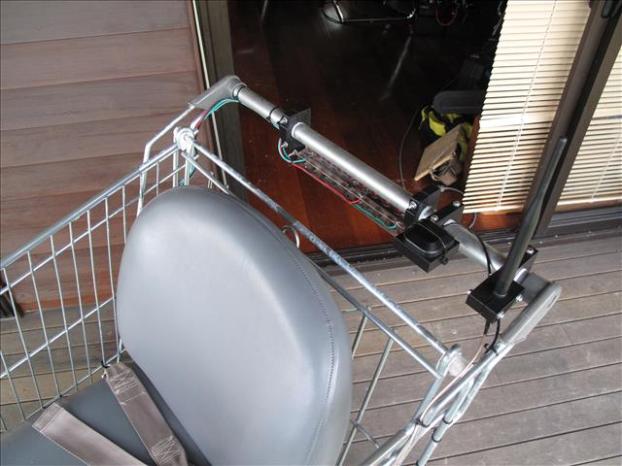
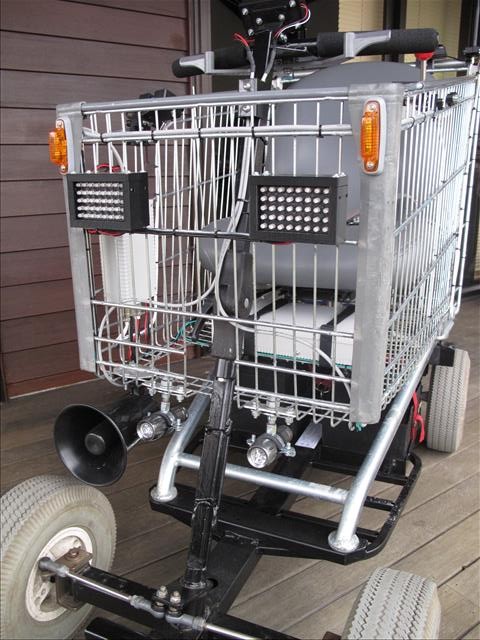
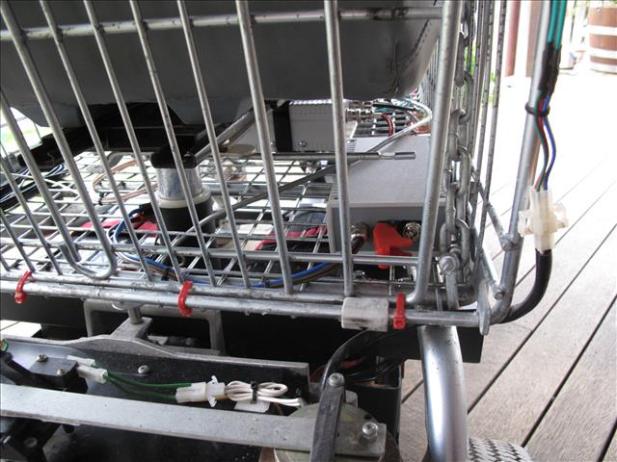
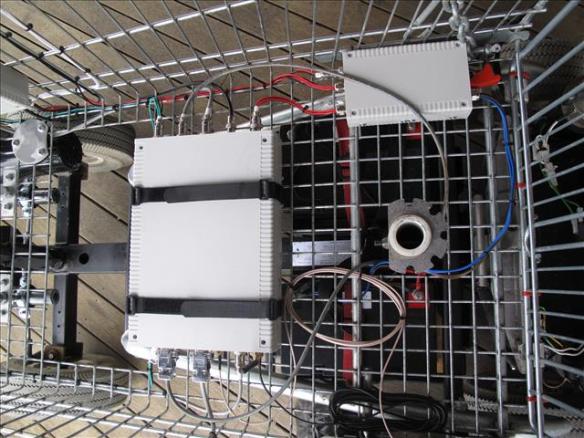
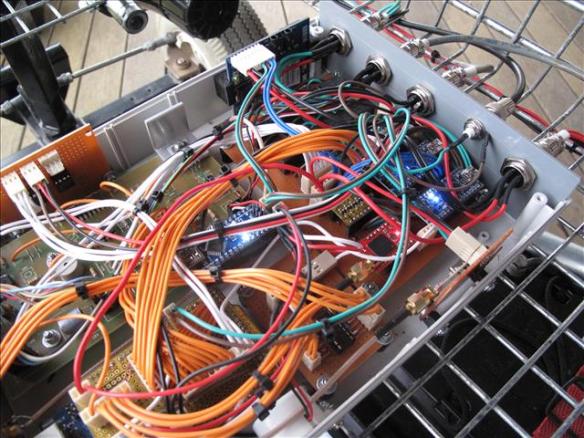
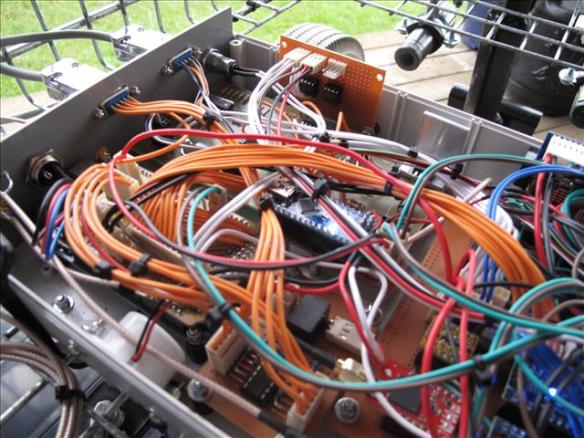
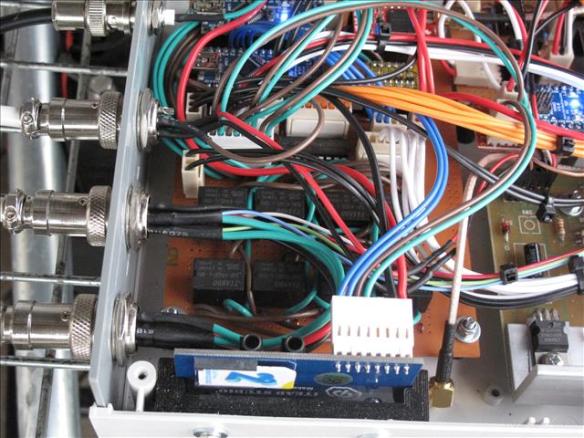
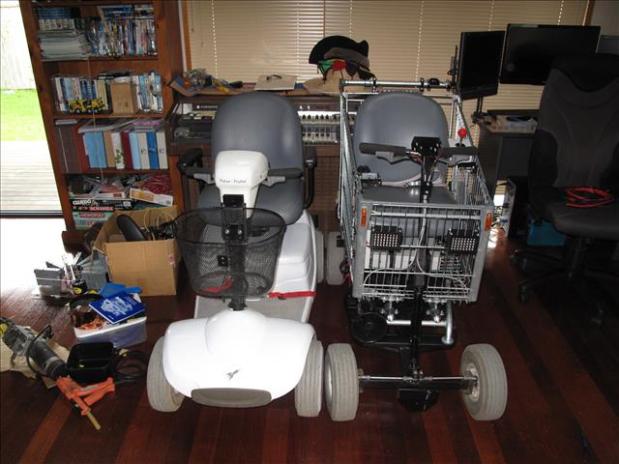
In the interim here’s some finished pics


Pingback: Shopping Trolley is Wired for Camp | Hack The Planet
Pingback: IT青年舍 » Shopping Trolley is Wired for Camp
Pingback: Belgaum news | About Belgaum | Belgaum information | Belgaum district | Belgaum city | Belgaum Hotels | Belgaum People | Belgaum tourism | Belgaum entertainment | Belgaum students | Inside facebook | Hack | make use of | technical news | | Shopping Trolle
Pingback: Shopping Trolley is Wired for Camp
Hi, were you going to do a video?
Hi Mike, working on something at the moment and will post when done
Mike, have a look at this post, https://jct250.wordpress.com/2013/12/10/first-video-upload/ just managed to get the video up to Youtube